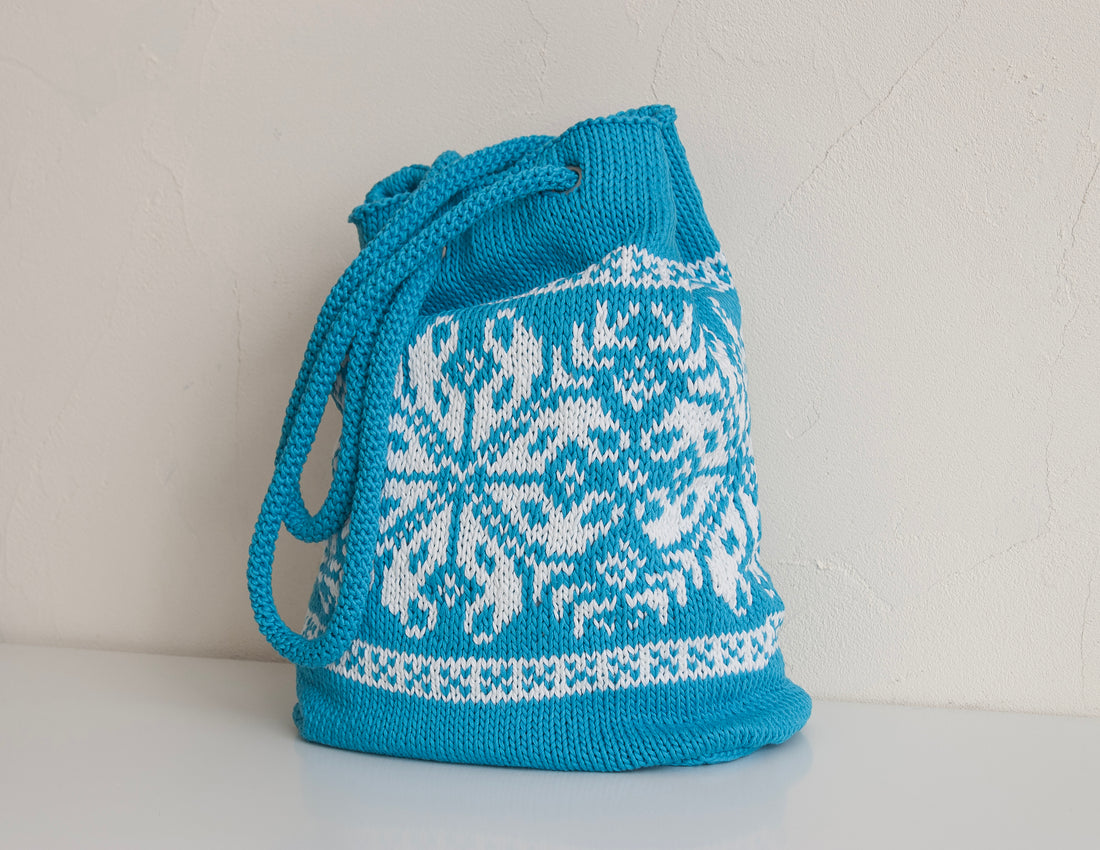
How to Crochet a Round Sturdy Cord
For my very first bags I made handles from crocheted cord, but then I decided to abandon the idea of adding eyelets to the bags. So, knitting a strong, beautiful, and thick cord turned out to be not so simple. I searched for a method for a long time, tried various options, and so far, I haven't found anything more suitable.

For those who want to make a similar cord, I've created step-by-step photos with descriptions.
So here's how you can do it:
-
Cast on 5-10 stitches (I used 7) and crochet a row with single crochet stitches. I used a 3.5 mm crochet hook and yarn with 110 m/100 g, which is quite thick. Experiment with the yarn thickness, crochet hook size, and the number of stitches to find the version that suits you.

-
Flip the work. Now we need to join the work in a ring. Arrows indicate the loops through which we will crochet the next row of single crochet stitches.

-
Joined in a ring and start crocheting the next row. The loop-bridges through which the new row is crocheted are the loops pulled through during the single crochet stitch. Just take a close look at how you crochet a single crochet stitch, how a loop-bridge is formed on the back of the work, and everything will become clear.

-
Crochet the first stitch after joining the work in a ring.

-
The first stitch of the new row is ready.

-
Our work is already starting to resemble a cord! Continue crocheting — find the loop-bridges on the outer side of the work and crochet single crochet stitches through them. I've marked the needed bridges and direction with arrows.

-
After a couple of rows, you'll find it much easier to navigate through the loops! The cord doesn't crochet very quickly—it took me almost 2 hours for about one and a half meters (and nearly 100 g of yarn). However, it looks good, is sturdy, and doesn't stretch too much.

Good luck!
IMPORTANT INFORMATION!
Reprinting or reposting this material without a reference to the source or my website is prohibited!
